March 9, 2026
Your front door is much more than just a piece of wood or metal on a hinge; it is the focal point of your home’s curb appeal and your first line of defense against the elements. Over time, even the sturdiest installations can begin to show signs of wear, whether it’s a stubborn latch, a persistent draft, or a squeak that announces every arrival. Taking the time to perform an entry door repair is one of those satisfying home improvement tasks that offers immediate results in both comfort and security. It is about preserving the character of your home while ensuring that everything functions exactly as it should when you turn the key.
1. Understanding The Fundamentals of Entry Door Repair
When you walk up to your home after a long day, the last thing you want to deal with is a door that sticks, squeaks, or lets in a cold draft. Our homes are our sanctuaries, and the front door is the handshake that greets the world. However, maintaining that entryway isn't just about looks; it’s about security and energy efficiency. Engaging in entry door repair might seem like a daunting weekend project, but it is one of the most rewarding DIY tasks you can take on. Whether you are dealing with a wooden heirloom or a modern steel unit, the principles of keeping it functional remain largely the same.
2. Identifying Common Structural and Surface Issues
The journey to a perfect entryway starts with a bit of detective work. You can't fix what you haven't diagnosed, right? Take a moment to really look at how your door is behaving. Is there a gap at the top corner? Does the latch click into place easily, or do you have to lift the handle to get it to lock? These are the breadcrumbs that lead you to the root cause of the problem. Sometimes the issue is purely cosmetic—sun damage or peeling paint—but often, those surface-level symptoms are pointing toward deeper structural needs.
When you begin your entry door repair assessment, remember that moisture is usually the primary antagonist. For wooden doors, look for soft spots near the bottom where water might have pooled. For metal or fiberglass, look for dings that have compromised the protective coating. A quick tip for the "draft test" is to wait for a windy day and move a lit incense stick or even just your hand around the perimeter of the door.
3. Selecting Proper Tools and Replacement Materials
Once you know what’s wrong, it is time to gather your gear. You don't need a professional workshop to do a great job, but having the right "ingredients" makes the process much smoother. Most repairs require a basic set: a reliable cordless drill, a variety of screwdrivers, a wood plane for tight spots, and perhaps some high-quality wood filler or specialized metal epoxy. It’s also a good idea to have a level on hand. A door that looks straight to the naked eye can still be off by a fraction of an inch, which is often enough to cause sticking.
In today's market, being smart about your materials is essential. Since we know that metal components saw a 17.7% price rise in early 2025 according to Mordor Intelligence, you want to make sure the hardware you buy is durable enough to last. If you are replacing hinges or strike plates, don't just grab the cheapest option on the shelf. Look for heavy-duty materials that can withstand the weight of your specific door. Using the wrong screw length is a classic mistake; for the hinges, ensure at least one screw on each leaf is long enough to reach past the jamb and into the wall stud. This simple trick provides the structural integrity needed for a successful entry door repair.
4. Mastering Hinge Adjustments and Frame Alignment
If your door is dragging across the carpet or scrubbing against the top of the frame, your hinges are likely the culprits. Over time, the sheer weight of a heavy entry door can cause the hinges to "sink" or the screws to pull slightly out of the wood. This isn't a sign of a failing house; it’s just physics at work. To fix this, you don't always need to move the hinges. Sometimes, simply tightening the existing screws or replacing a short screw with a 3-inch version will pull the door back into its rightful place.
In more stubborn cases of entry door repair, you might need to use shims. These thin pieces of wood or cardboard are placed behind the hinge leaf to slightly change the angle at which the door sits. It’s a bit of a balancing act—adjusting the top hinge affects the bottom corner and vice versa. Think of it like tuning a guitar; small, incremental changes are better than big, sweeping adjustments. If the frame itself has shifted due to the house settling, you may need to gently sand or plane the edge of the door where it rubs. Just remember to reseal any bare wood immediately to prevent moisture from causing the door to swell again.
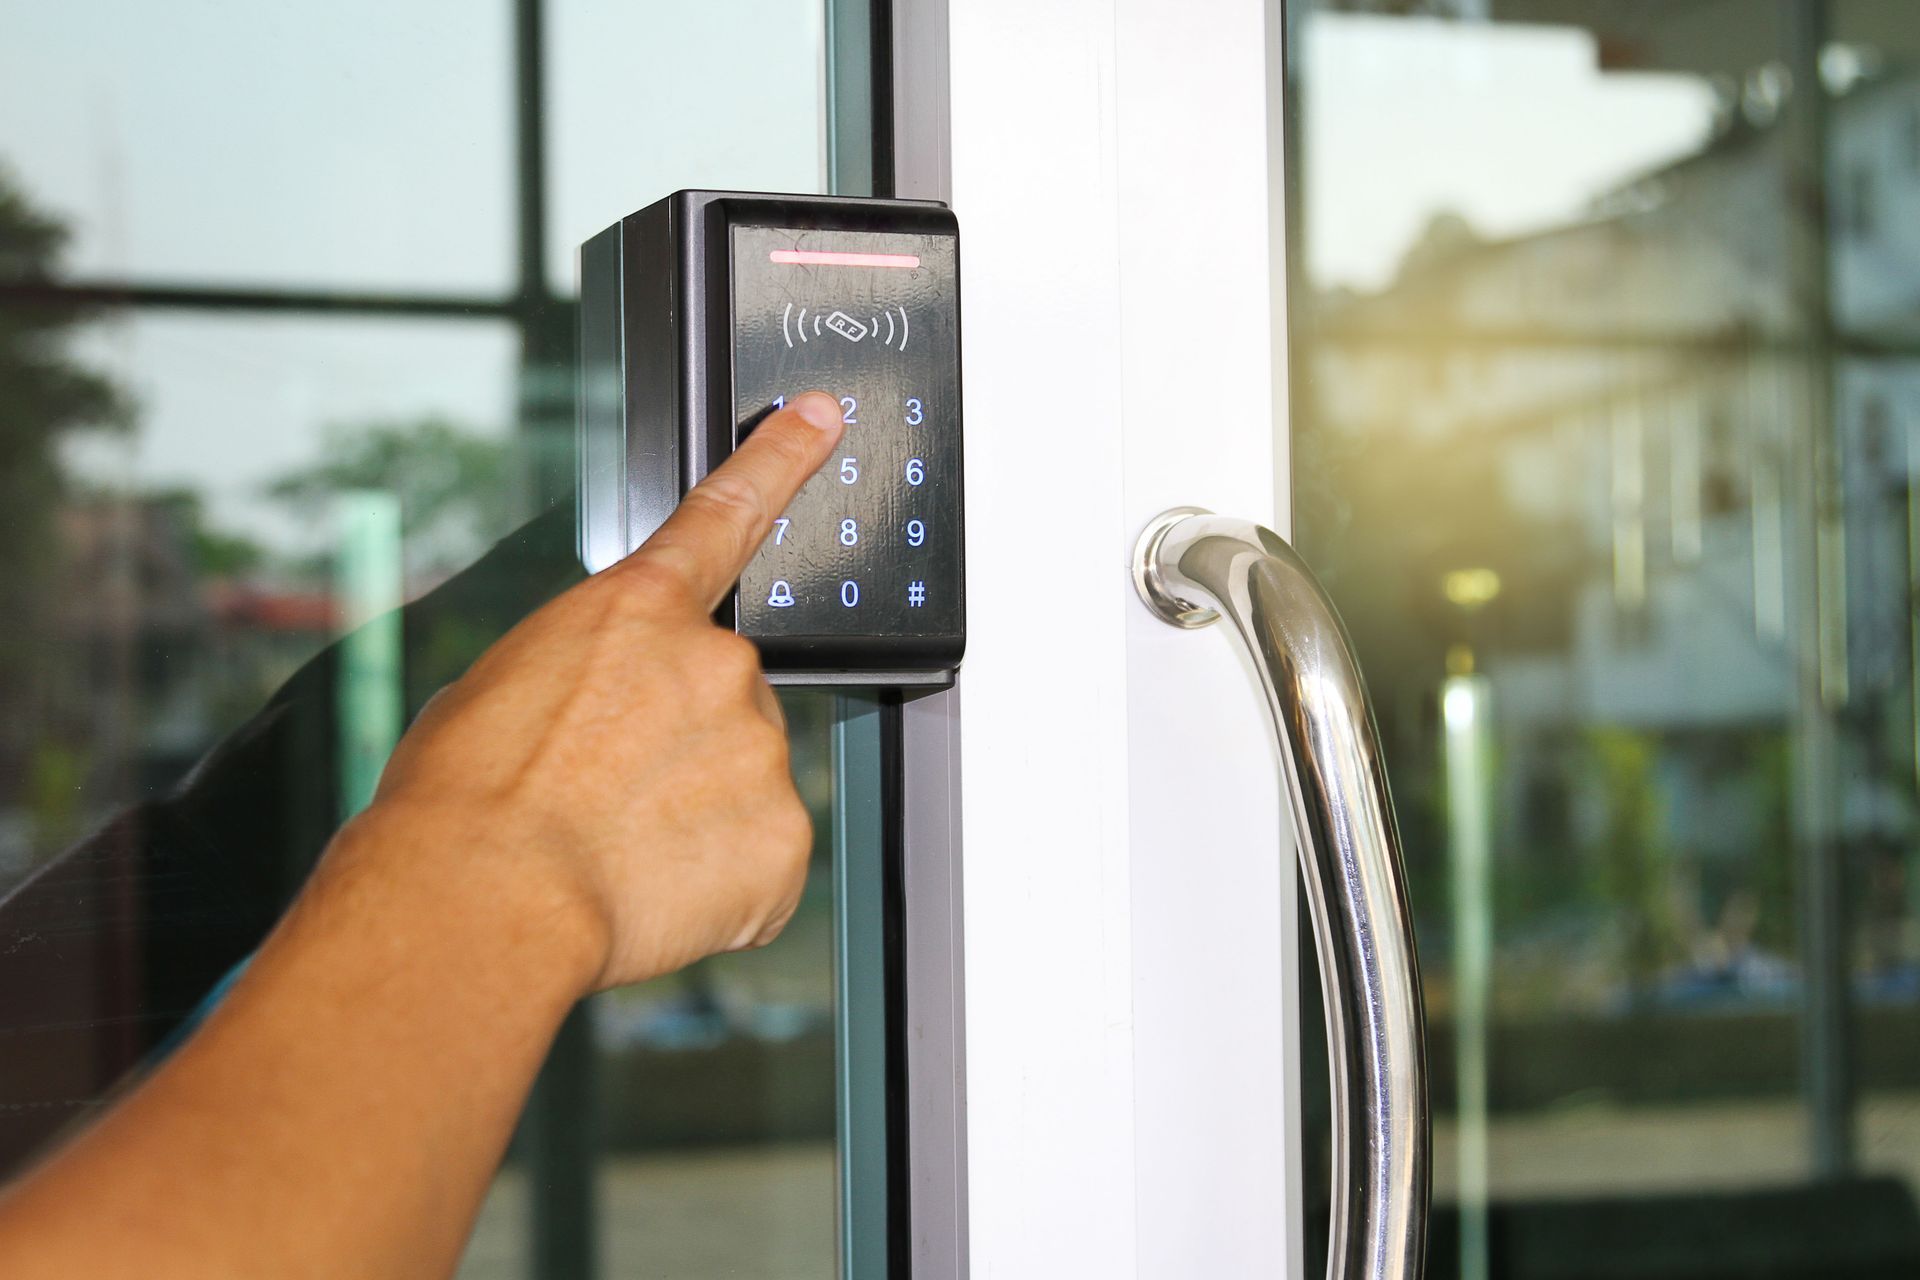
5. Optimizing Lock Functionality and Security Hardware
A door that doesn't lock easily isn't just an annoyance; it’s a security risk. If you find yourself jiggling the key or leaning your shoulder against the door to get the deadbolt to throw, the alignment between the bolt and the strike plate is off. This is one of the most common tasks in entry door repair. Often, the house has settled just enough that the deadbolt is hitting the metal plate instead of sliding into the hole. You can usually see where the bolt is rubbing by looking for marks on the plate.
6.Implementing Effective Weatherproofing and Sealants
Now that the door is swinging straight and locking tight, let’s talk about the elements. Weatherstripping is the unsung hero of home comfort. It sits there quietly, blocking out the heat of summer and the bite of winter. If your current seals are cracked, flattened, or missing chunks, your HVAC system is essentially working overtime to condition the neighborhood. Replacing these seals is perhaps the most cost-effective part of entry door repair. There are several types to choose from, including foam tapes, V-strips, and bulb seals that slide into a groove in the door stop.
Don't forget the "door sweep" at the very bottom. This is the part that takes the most abuse from shoes, dirt, and moisture. If you can see daylight under your door, you are losing money. Installing a new wrap-around or screw-on sweep can create a literal wall against drafts and even crawling pests. When applying any adhesive-backed weatherstripping, make sure the surface is surgically clean; use a bit of rubbing alcohol to remove old oils and dirt so the new seal stays put for years. A well-sealed door doesn't just save you money; it makes the whole room feel more solid and quiet.
7. Establishing a Long-Term Maintenance Schedule
The secret to a "flawless" repair is making sure you don't have to do it again next year. Maintenance isn't a one-and-done event; it’s a habit. Think of your entry door like a car—it has moving parts that need lubrication and a finish that needs protection from the sun's UV rays. Every six months, take five minutes to walk around your entryway. Tighten any loose screws, wipe down the tracks, and check that the finish isn't starting to "chalk" or peel. If you have a wooden door, a fresh coat of clear polyurethane or paint every few years will prevent the wood from drying out and cracking.
In a world where costs are constantly shifting—like the 17.7% jump in metal door and window prices reported by Mordor Intelligence in early 2025—preventative care is your best financial defense. A little bit of grease on the hinges and a quick cleaning of the threshold can prevent the friction that leads to hardware failure. By staying on top of these small details, you ensure that your entry door repair efforts stand the test of time. Your door will continue to swing smoothly, lock securely, and look beautiful, providing that perfect first impression for everyone who visits your home. For professional assistance with your door needs, contact Pad Door Systems, Inc.